Sunday, October 30, 2011

ASSIGNMENTS DUE BEFORE FOR NEXT CLASS: 8

Class Assignments
Take screenshots of all homework that you do, as you do it (periodic screenshot, to show progress on the work you do), and then post the screenshots to your blog along with a text description. When done post your blog link to the Yahoo Group for peer review, and review the work of your fellow classmates through the Yahoo Group.
  1. Listen to me explain the key differences between virtual worlds, simulators, and video games and how they are all used for Immersive Education: click here to listen.
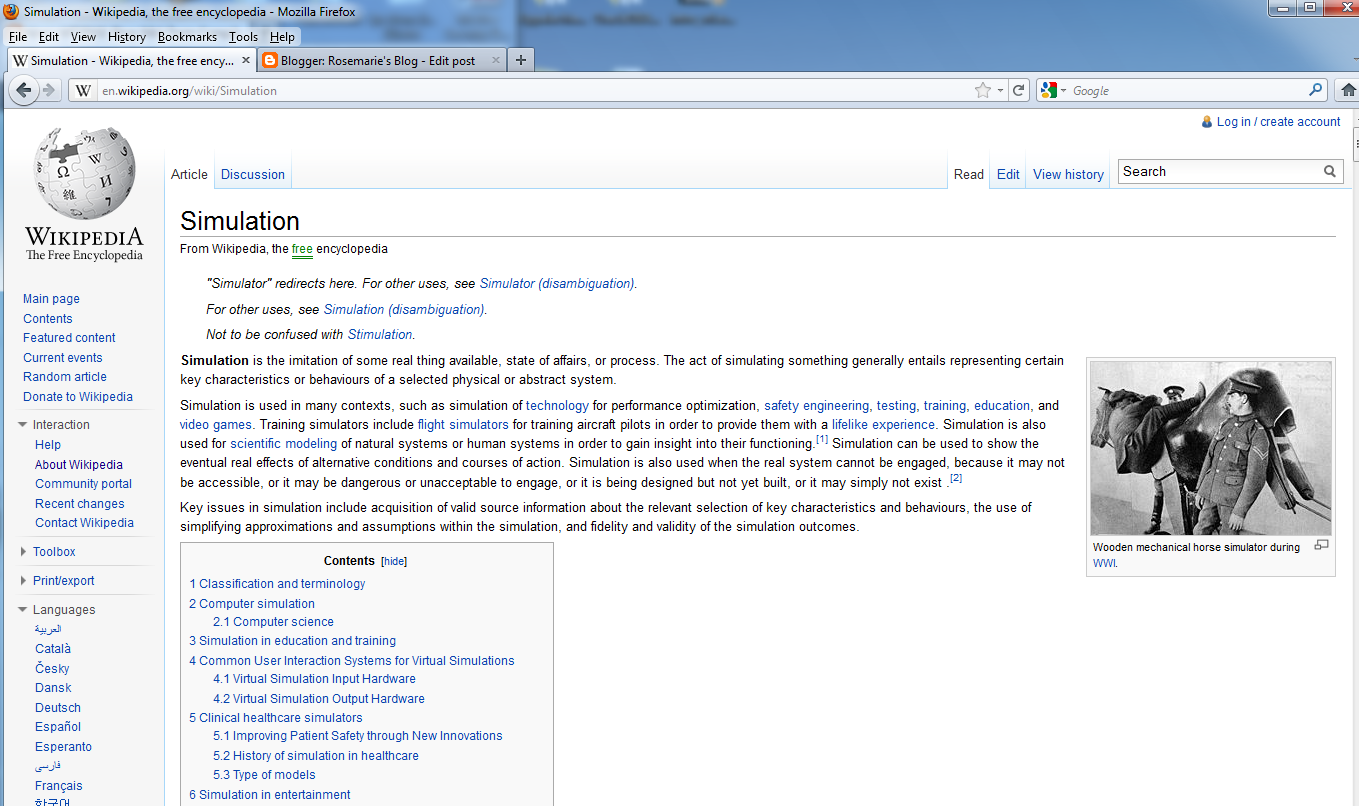
  2. Skim (read, but not in extreme detail) this article about simulators and simulations: http://en.wikipedia.org/wiki/Simulation
  3. Download and run the NASA Spacewalk Simulator (Windows operating system only; you may have to borrow a Windows computer from a friend or family member for this and other Windows-only assignments). You will find the NASA Spacewalk Simulator in the Rocket World discussion forums in the Immersive Education forums (at http://immersiveeducation.org/forums). As always, take screenshots and post to your blog along with a text summary of what you just did.
  4. Watch this video about Video Games & Learning: http://www.youtube.com/watch?v=rN0qRKjfX3s 

  1. Key difference between virtual worlds, simulators, and video games and how used for Immersive Education.

There are various differences, advantages and disadvantages between virtual worlds, simulators and video games.
Virtual worlds - users create content, which resides in the virtual world in a co-present and shared experience with other users.  If email or remote classrooms by watching it doesn't have collaborative feeling.  Virtual worlds give students an experience together in the virtual world. Students can meet the teacher in various locations - experiences something together, giving a deeper sense of connectivity - immersing IN the experience.
Simulator - is a singe user experience, like flight simulators as one example. However, simulators do not give the freedom to move about, like the virtual world provides.
Video Games - have explicit goals unique to the specific game itself, like acquiring points, and it is in a competitive environment. 


Generally, there are pros and cons for virutal worlds, simulators, and video games, but they do all have potential to promote educational learning!

2. Skim article about simulators and simulations:
Simulators are a representation of something else - "a real thing available, state of affairs, or process."


3. Download the NASA Simulator
This simulator allows experience of one of three spacewalks, and allows viewing of replacement of the Hubble telescope.

Successful Installation


Simulation launched by the Launch ESS-STS125 icon with the Windows Start Menu => Programs =>Digital Spaces program

Launched and watched the video of the astronauts repairing, utilzing the cadadarm space arm. 
The three spacewalks included the following:
1) removal of the wide field camera 2 and wide field installation
2) battery replacement for dark periods
3) replacement of corrective optics axial replacement with cosmic origins spectrograph


There are ways to manually change your viewpoints as you are watching the  videos.


This is a neat angle - can see more of what is actually being done, and can see items that previously were not able to be seen.


High level viewpoint as they are working.


Lots of information and viewpoints to enjoy as the video progresses.


4. Watch video


Video games, Entertainment and Education
Games have potential to teach.  Some can educate and some can entertain.  Seems that the gap between these two types have widened.  Educational games set out to complete a goal, to teach something, but can be boring.  On the other hand, video games are fun games, but do they actually enrich?  Thus, we need to facilitate learning, rather than just trying to educate.  An important factor which must be focused on is tangential learning-what you learn by being exposed to things while being engaged in something.  Basically, it's not about just educating, as this process is actually self educating. Tangential learning can introduce new ideas, and facts into a game scenario.  As example, games can give information while screens are loading, and objects can be references in games to teach.  Moreover, game indexes also give tangential objects to teach, as well as include Wikipedia links.  These are all ideas on how games can add depth, enhancing knowledge and experience while being fun. Games should be able to expose one to new concepts and learning.  In general, tangential learning can be very beneficial for educating while providing a fun educational  experience.

**Great video.... :-)


Class 7 Roll Call 2


Class 7 - avatar customizations and picture move, rotate and scale

Classwork
2. Customize your Wonderland avatar. Use the following video and text instructions to customize your Wonderland avatar. Take screenshots as you customize your avatar and upload them to your blog, as always, to show the process you took:
  1. Text instructions on how to customize your avatar
  2. Video showing step-by-step avatar customization


Avatar Customization

In Wonderland, starting the avatar customization process with the below avatar:
 
In order to change your avatar's appearance, choose Edit=> configure avatar 

Then, go in and click on "NEW..."

After you choose new, you will be able to name your configuration what you would like - below you will find NewAvatar2, but you can name it as you choose.  

On this screen, you will find many options to change your avatar's appearance.


You can change your appearance including shirt, pants, shoes and anything else you may want for your custom avatar.

Configuring hair color
  Configuring Pants
Configuring shirt


Configuring Shoes


When you are finished, choose Use, and your avatar will be customized as you desire!

My successful avatar customizations...


3. Move, Rotate and Scale. Drag and drop a photo of you

Uploading a picture into Wonderland - at first it is (I'm) hidden behind the building


 Moving, rotating and scaling my picture in Open Wonderland
Below you will find screenshots utilizing the HUD frame - 3 toggle buttons to change the location and size of my picture
1) toggle display
2) toggle rotate
3) toggle resize from left to right
Details shows numerical values - position rotate and scale


My picture is now scaled, moved and rotated...  much better now!


Added a Clickable midterm link to my picture
On the picture, right click properties, and add the link.  Below is the link added for my picture.


Class 7 Roll Call 1


Roll Calls From Prior Classes


Midterm - links for assignments


Name:        Rosemarie Tagliamonte 
Main Blog: http://rosemariesharon.blogspot.com/
I should have everything below, but if it isn’t it should be in order in my main blog. Some of the work overlapped from the class and the homework, so my blog does have everything done in order, following the classes and the homework assignments.

Class 1


Class 2

The six videos and descriptions:
Note: Spanish articles – were posted in yahoo and in the google documents (like the space suit)
Emails set for the articles, and a couple of responses from emails.

Class 3

My new Avatar: logged in and created
a) How to change your appearance
b) Navigating in small spaces
c) How to use Undo
d) How to use the building grid
e) How to Copy a prim
f) Linking prims
g) How to deal with annoyances
h) LAND: Terraforming  


Class 4

Install FRAPPS & Graphics Preference Video
EXTRA CREDIT: CSI Virtual Tour
EXTRA CREDIT: Rocket World Tour

Class 5


Class 6

Monday, October 24, 2011

OpenWonderlandCommunityGroups

Open Wonderland Builders Community Group - great place to post questions about building content for Wonderland projects.

Open Wonderland Users Community Group (OWU.CG) - great place to go for any questions relating to questions about using Open Wonderland.


Sunday, October 23, 2011

Roll Call 2, Class 6


Dragging and Dropping Two Pictures into Wonderland

Picture One  - dragged and dropped into Wonderland
Note: after dragging into Wonderland, had to exit and come back in to see the pictures.


Picture Two dragged and dropped into Wonderland

After deleting both pictures, had to quit and come back in to see that they were removed...


HW for Class 7 - Two Videos

Watch these 2 Wonderland videos. If you are having problems “seeing” the web page that the videos are on try opening these links in a new page or a new tab (right-click on the links for these options):

a) http://www.youtube.com/immersiveed#p/u/12/_lD_oxp0qqE
Audio Recording Information
Red button - start recording
Black button - stops recording
Green button - playback recording


b) http://www.youtube.com/immersiveed#p/u/11/fns5MU3KIEk
This video shows Drag And Drop instructions on how to upload items into Wonderland.  Choose slide spreader and can edit slide layout by right clicking the item.  Can use details to change the size, etc.

Class 6, Roll Call 1


Monday, October 17, 2011

Saving SketchUp Models and moving into Open Wonderland

The below Wonderland Site was utilized to find out how to do this:
http://openwonderland.org/

For any problems, can go to Open Wonderland Builders Community Group (OWB.CG).

Found the following clip in this site and I changed it to use the Collada file format instead of the google earth format and it worked fine for our class purpose:

Instructions for saving the sketchUp file to the COLLADA File format:
(Converting a SketchUp (skp) file to Google Earth format (kmz))
First, to convert your SketchUp (skp) file:
1. Download and install SketchUp on your computer (http://sketchup.google.com/)
2. Save your 3-D model from the 3D Warehouse in SketchUp (skp) format to your computer, using the
version that most closely matches the version of SketchUp installed on your machine. Save the model as a
file named FinalTwoChairs.skp.
3. Launch SketchUp
4. Open the satellite.skp model  - File --> Open
5. Export the model  - File --> Export --> 3D Model

6. Save as format: COLLADA File (*.dae) choose Export
(can also do as Google Earth 4 (.kmz) as a file named *satellite.kmz)

After Logging into Open Wonderland utilizing and launching my saved desktop Wonderland.jnlp file, went to the "ALMOST EMPTY" area. To go to the Almost Empty place to bring my chairs in, I chose Placemarks => Almost Empty.

Two ways to import models
In Project Wonderland, there are two means to import 3D models: via drag-and-drop and via the Import -> Model menu item.
1) Importing a model via drag-and-drop
To import a 3D model into Project Wonderland, you may simply drag-and-drop the COLLADA file from your computer desktop into the Project Wonderland client window. Your items appear directly in front of your avatar, unless it's a very large model, in which case it will be centered around your avatar.When using drag-and-drop to import a 3D model, Project Wonderland imports and uploads the model files to the WebDav -based content repository on the server. Each user has his/her own space created automatically for them; all imported 3D models are placed beneath the user's art directory. You can view the imported 3D model files using the Content Browser (Tools -> Content Browser from the main menu).


I was able to drag and drop my chairs - message on the top.


Hello Chairs in Wonderland!  :-)  They actually look kind of funny - lol  Not the artist - YET! ;-0


Browsing items:


2)Importing a model via the Import -> Model menu item
You may also import a 3D model using the Import -> Model item on the main menu. While this means has the same effect as dragging-and-dropping a 3D model into the client, the underlying mechanism is slightly different, and geared more for developers.
The following picture shows the Import -> Model menu item. When selected, the Import Manager dialog box appears.

Open Wonderland - Getting Started for the First Time

Logging into the iED Education Forum for the Open Wonderland Users Community Group (OWU.CG) forum to get familiar with Open Wonderland.


A handy instruction, about Open Wonderland,  is very helpful site for background information.  Basically, it describes Open Wonderland as a open sourced Java toolkit for 3-D based collaborative virtual environment creation, utilized by education, government or businesses for real time teaching or business activities and collaboration.  It is software, and not considered an actual product as it is a framework.  Open Wonderland is non-profit and backed by the Open Wonderland Foundation.

The  following are helpful directions from this site on how to:
Enter the Immersive Education TEST SERVER

You may have to upgrade your version of Java if you have difficulty getting in from The Java Website
 Follow these steps to get started with Wonderland:
1) Visit http://TheEducationGrid.org/services/collaboration/OpenWonderland
2) Click LAUNCH
3) Open the Wonderland.jnlp file that downloads


4) Wait until the application downloads and runs (10-15 minutes)


5) Sign in (log in) as a GUEST using your real name (first and last name)

6) Wait until the virtual world appears in 3D (2-5 minutes)

7) Walk around using your arrow keys

8) Create an avatar that can "walk" using EDIT > Configure Avatar > NEW
 My New Avatar!

8) Use the HELP menu for more Open Wonderland features