The below Wonderland Site was utilized to find out how to do this:
http://openwonderland.org/
For any problems, can go to Open Wonderland Builders Community Group (OWB.CG).
For any problems, can go to Open Wonderland Builders Community Group (OWB.CG).
Found the following clip in this site and I changed it to use the Collada file format instead of the google earth format and it worked fine for our class purpose:
Instructions for saving the sketchUp file to the COLLADA File format:
(Converting a SketchUp (skp) file to Google Earth format (kmz))
First, to convert your SketchUp (skp) file:
First, to convert your SketchUp (skp) file:
1. Download and install SketchUp on your computer (http://sketchup.google.com/)
2. Save your 3-D model from the 3D Warehouse in SketchUp (skp) format to your computer, using the
version that most closely matches the version of SketchUp installed on your machine. Save the model as a
file named FinalTwoChairs.skp.
3. Launch SketchUp
4. Open the satellite.skp model - File --> Open
5. Export the model - File --> Export --> 3D Model

6. Save as format: COLLADA File (*.dae) choose Export
(can also do as Google Earth 4 (.kmz) as a file named *satellite.kmz)
After Logging into Open Wonderland utilizing and launching my saved desktop Wonderland.jnlp file, went to the "ALMOST EMPTY" area. To go to the Almost Empty place to bring my chairs in, I chose Placemarks => Almost Empty.
Two ways to import models
In Project Wonderland, there are two means to import 3D models: via drag-and-drop and via the Import -> Model menu item.
1) Importing a model via drag-and-drop
To import a 3D model into Project Wonderland, you may simply drag-and-drop the COLLADA file from your computer desktop into the Project Wonderland client window. Your items appear directly in front of your avatar, unless it's a very large model, in which case it will be centered around your avatar.When using drag-and-drop to import a 3D model, Project Wonderland imports and uploads the model files to the WebDav -based content repository on the server. Each user has his/her own space created automatically for them; all imported 3D models are placed beneath the user's art directory. You can view the imported 3D model files using the Content Browser (Tools -> Content Browser from the main menu).
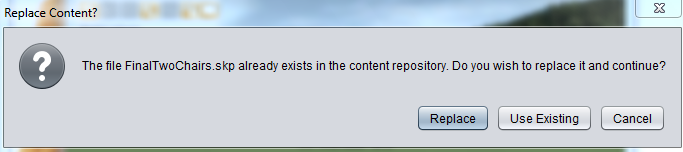
I was able to drag and drop my chairs - message on the top.

Hello Chairs in Wonderland! :-) They actually look kind of funny - lol Not the artist - YET! ;-0


2)Importing a model via the Import -> Model menu item
You may also import a 3D model using the Import -> Model item on the main menu. While this means has the same effect as dragging-and-dropping a 3D model into the client, the underlying mechanism is slightly different, and geared more for developers.
The following picture shows the Import -> Model menu item. When selected, the Import Manager dialog box appears.
No comments:
Post a Comment