TEAM SYNERGY
Part I. Overall Blueprint for creating the Apollo A7L Spacesuit in Rocket World EMMS
- Boots and legs
- Body and life support
- Helmet
- Arms
- Gloves
- Additional life support functions and spacesuit details
**************************************************************
Part II. Detailed iEd Tutorial for Apollo A7L Space Suit Creation
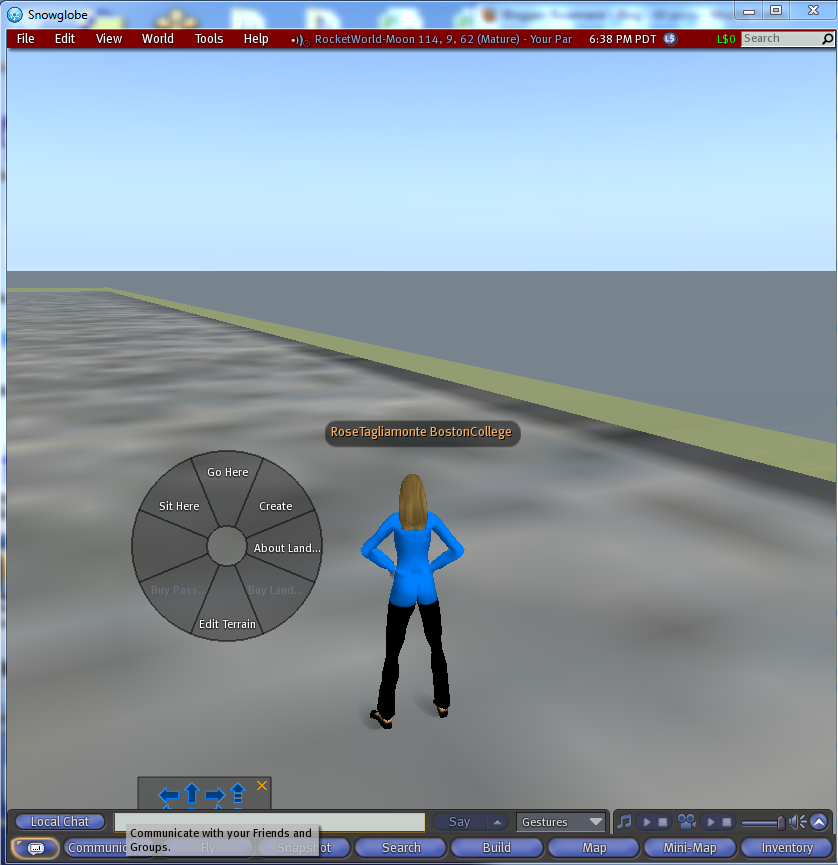
1. Go into Rocket World EMMS and right click the ground, clicking on create.

4. Next you will be repeating steps with different shapes for your different parts of the spacesuit. Right click the ground, choose create, and a cylinder can be chosen for the leg.


6. After the boot/leg is in position, you will need to shift and click on both objects. To link, choose Tools => Link to link the items together.

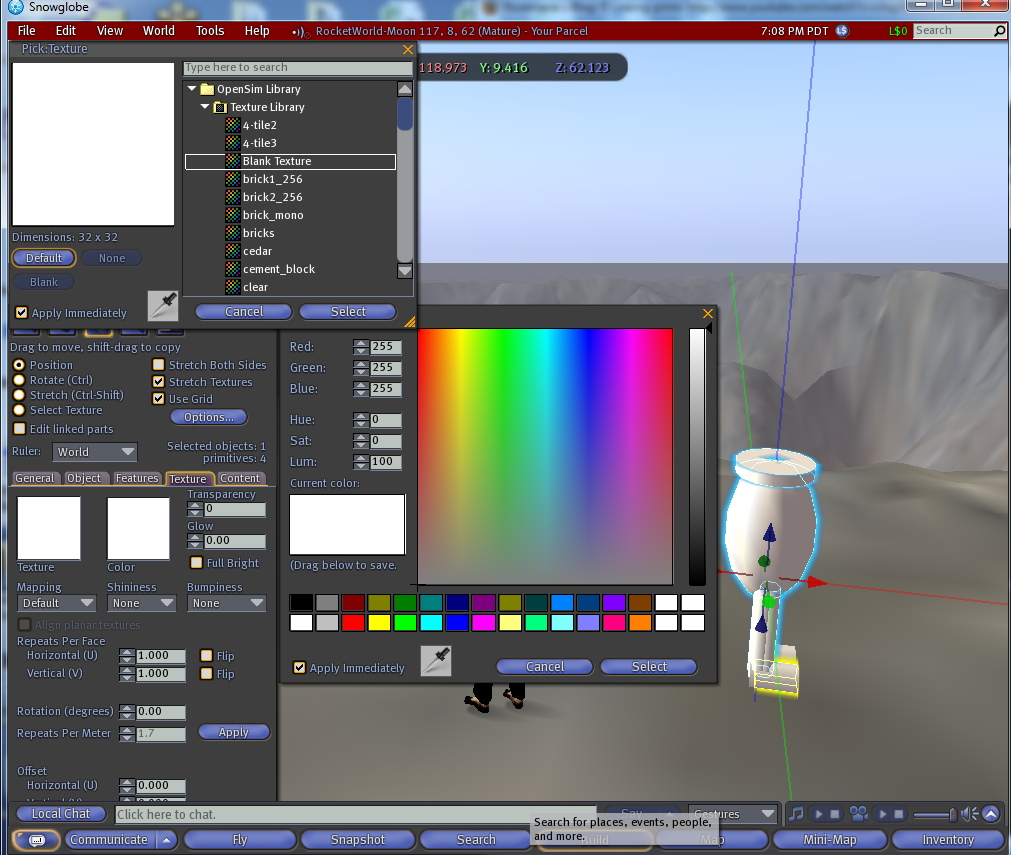
7. In order to change color, right click the object, click the texture tab, choosing white for the color
and blank for the texture. See step 13 if you want to see the color and texture menu.

8. The next step is a neat feature. You will be creating a second identical and parallel image by
clicking your leg image and dragging it. You will now see two identical images, as depicted below.

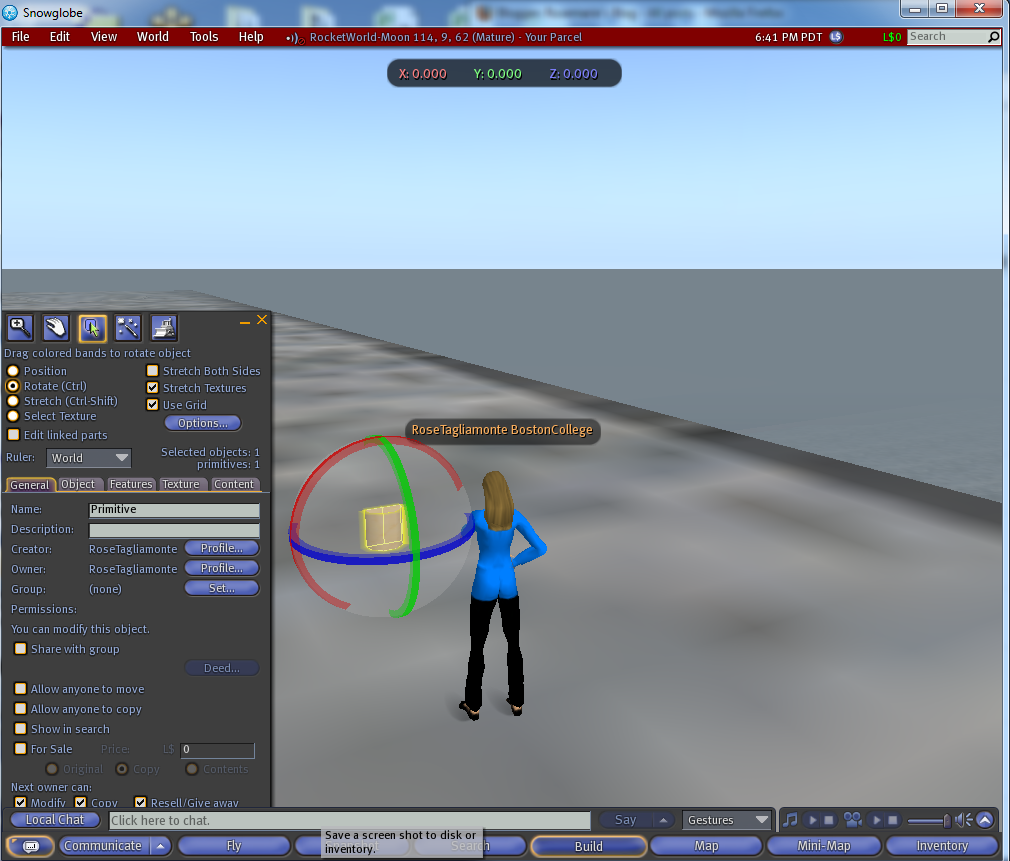
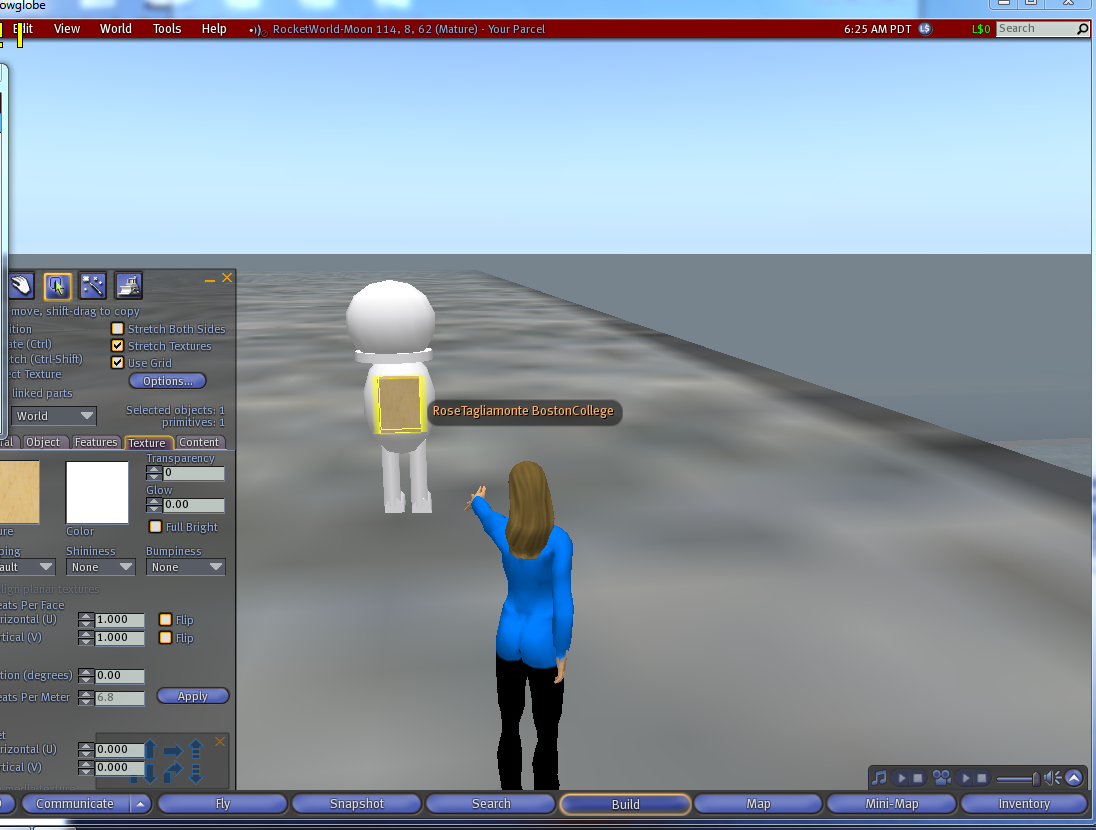
9. The body of the space suit is created by right clicking the ground, choosing create, and
the circle prim choice.
10. Similar to previous steps, you will choose stretch, rotate and position into place the desired spacesuit body onto the legs and boots that were previously created.


13. Again, shift and click all parts to link everything. Choose Tools => Link.

14. Right click the space suit, choose white as the color and blank as the texture.

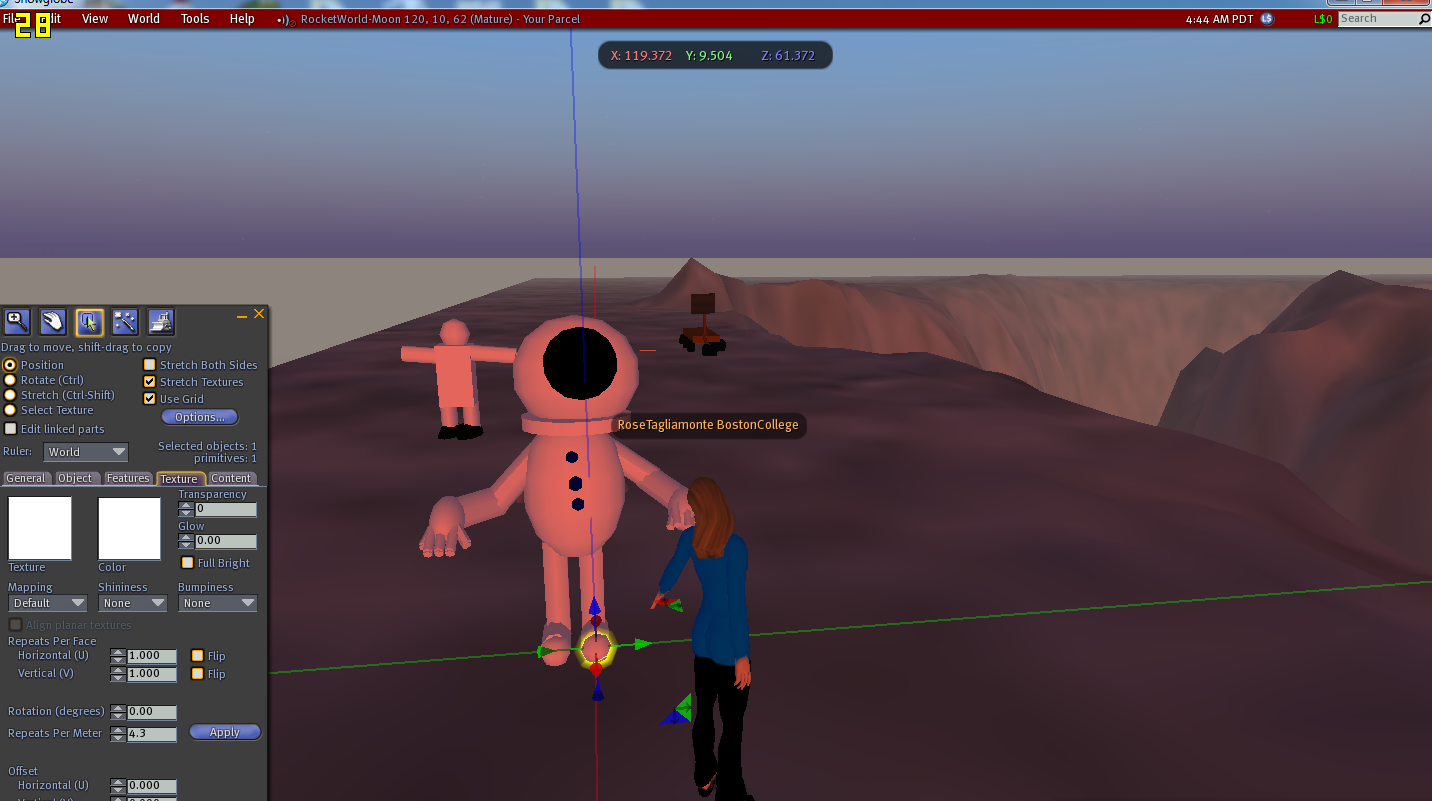
15. For the helmet, create another circle, rotate, stretch, position into place, right clicking and choosing white. Then create another object for the black glass window, repeating identical steps, but choosing black as your color. Position into place and link. Refer to previous steps if necessary.

16. Link all your items together by shift clicking your objects, choosing Tools => Link as done in previous steps.
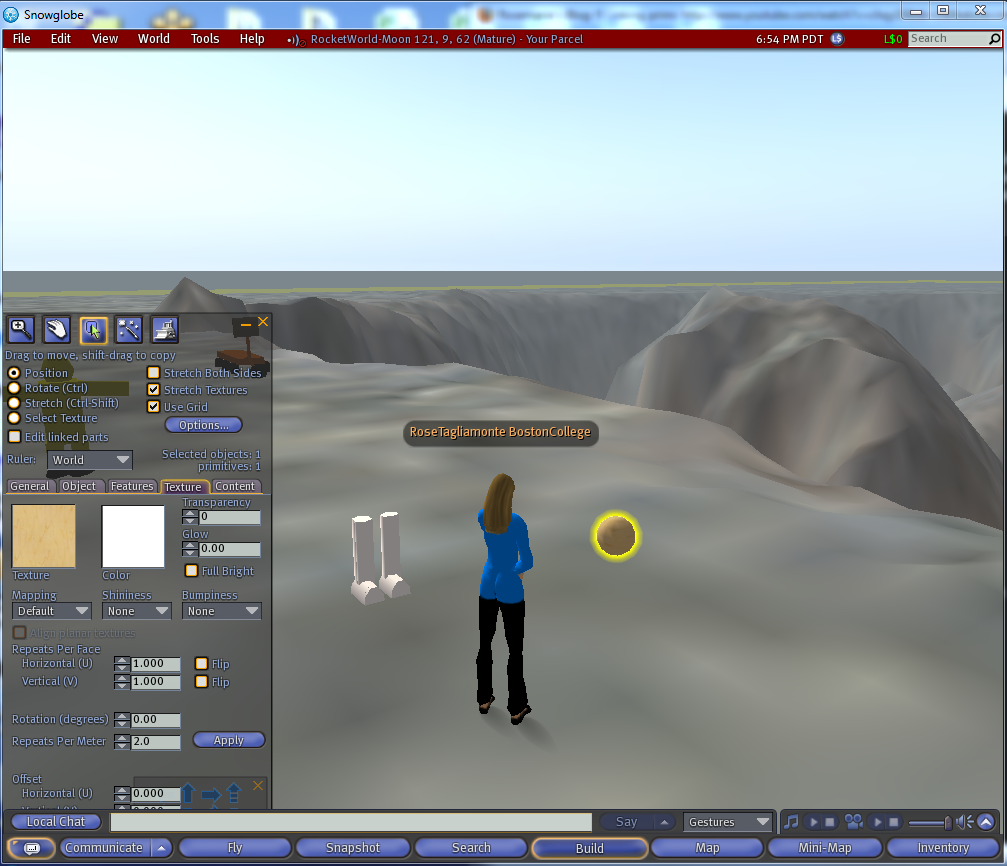
17. Make your life pack by utilizing a square and choosing position, stretch, rotate with options desired from previous steps, and linking as you are done.
18.Utilize the color and texture options to choose desired gray and blank texture.

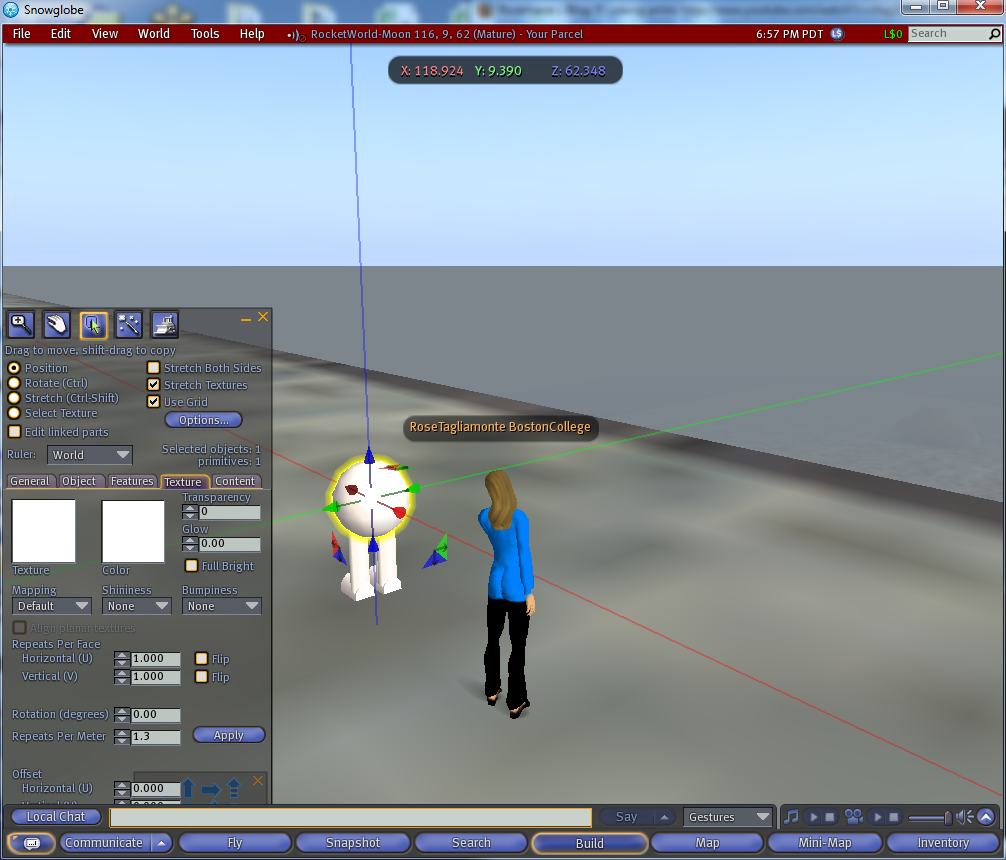
19. Next create the arms and gloves. Position into place utilizing rotate, and stretch as desired.

20. Stretch the gloves as desired and position into the arms. After creating both, link and change the color to white.

21.Create two objects for life hoses attaching to the life pack.

22. Position the hoses, utilizing rotate, and position.

23. Adding additional details below. Creating a blue round object for the suit detail.

24. Utilizing stretch, rotate and position, create a circle, then add multiple prims with the sift key, positioning as desired.

25. Adding additional life pack functions and details.


27. Building the gloves and fingers.


29. Checking out our Apollo A7L Spacesuit with added fingers for the gloves as well.
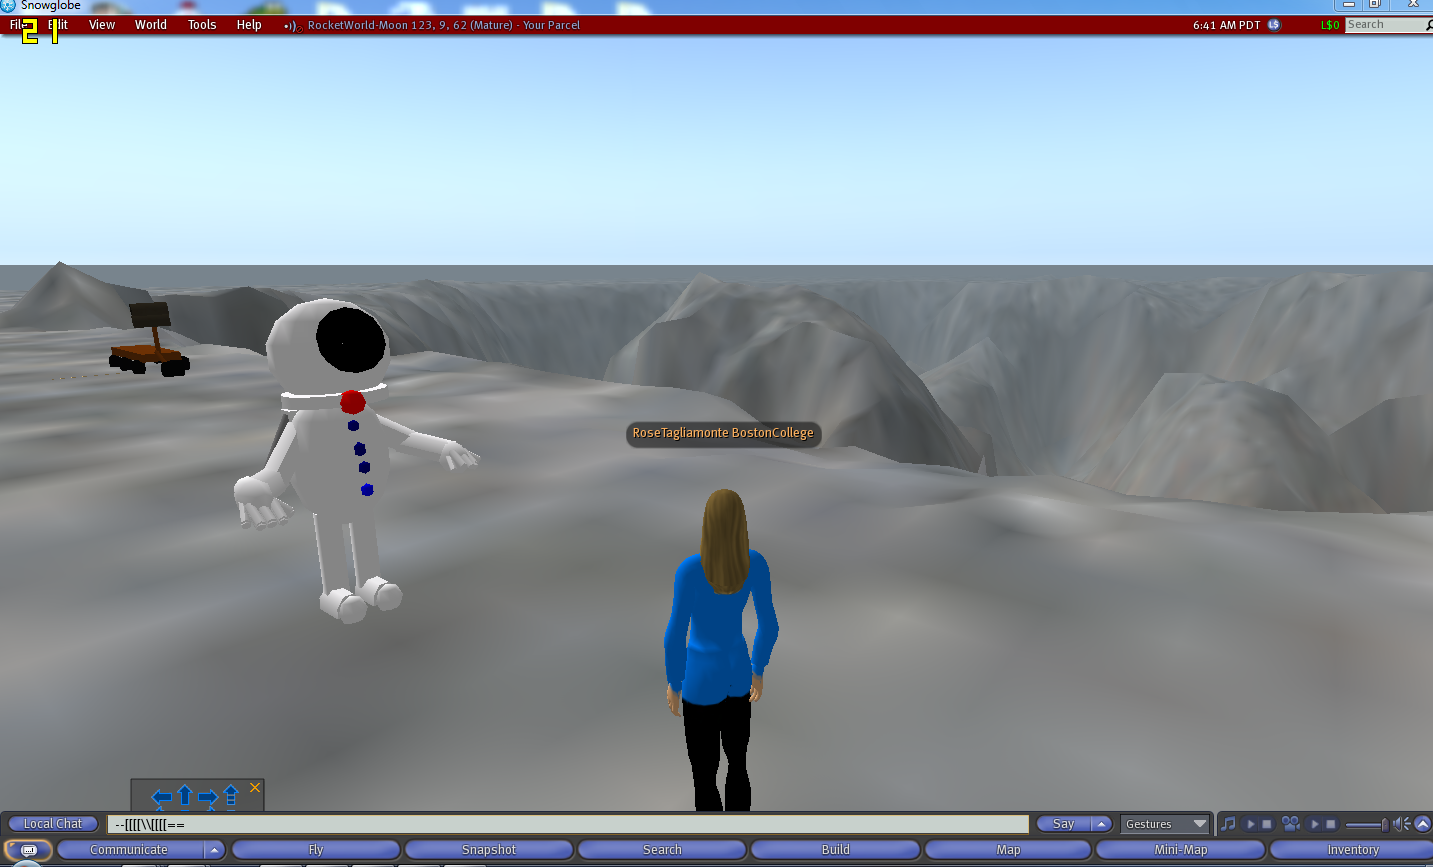
30. Now you can really fly to the moon! Enjoy! :-)
No comments:
Post a Comment